Automatic Transmission Control Replacement
Removal Procedure
1. Remove the console trim plate.
2. Remove the console wiring harness.
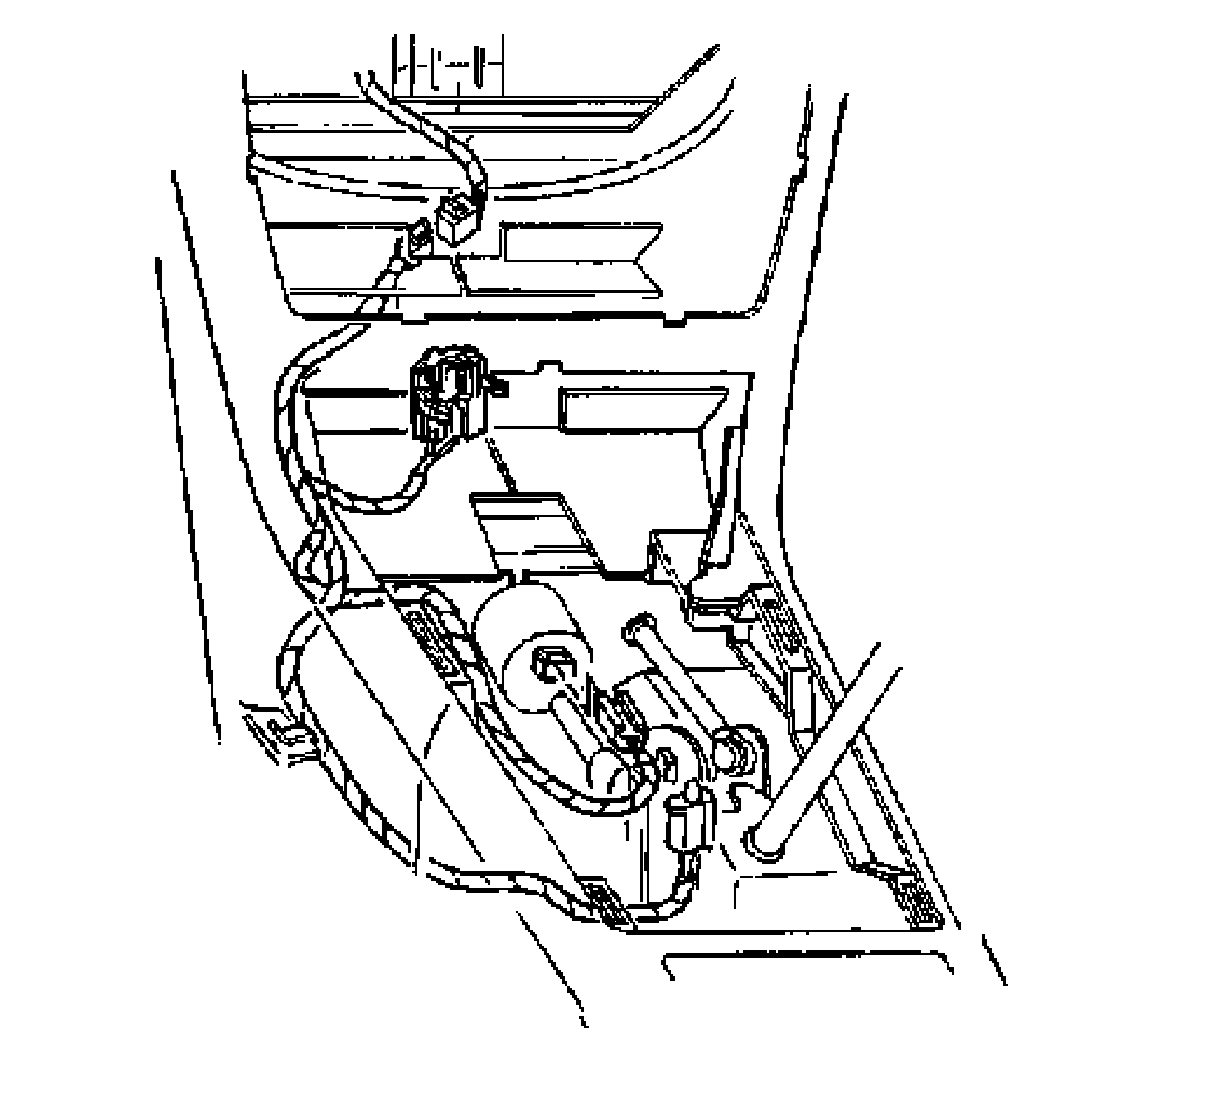
3. Remove the console shift control wiring harness.
4. Remove the automatic transaxle range selector cable.
5. Disconnect the lightbulb and the retainer from the shiftier.
6. Remove the console shift control retaining nuts.
7. Remove the console shift control assembly from the vehicle.
Installation Procedure
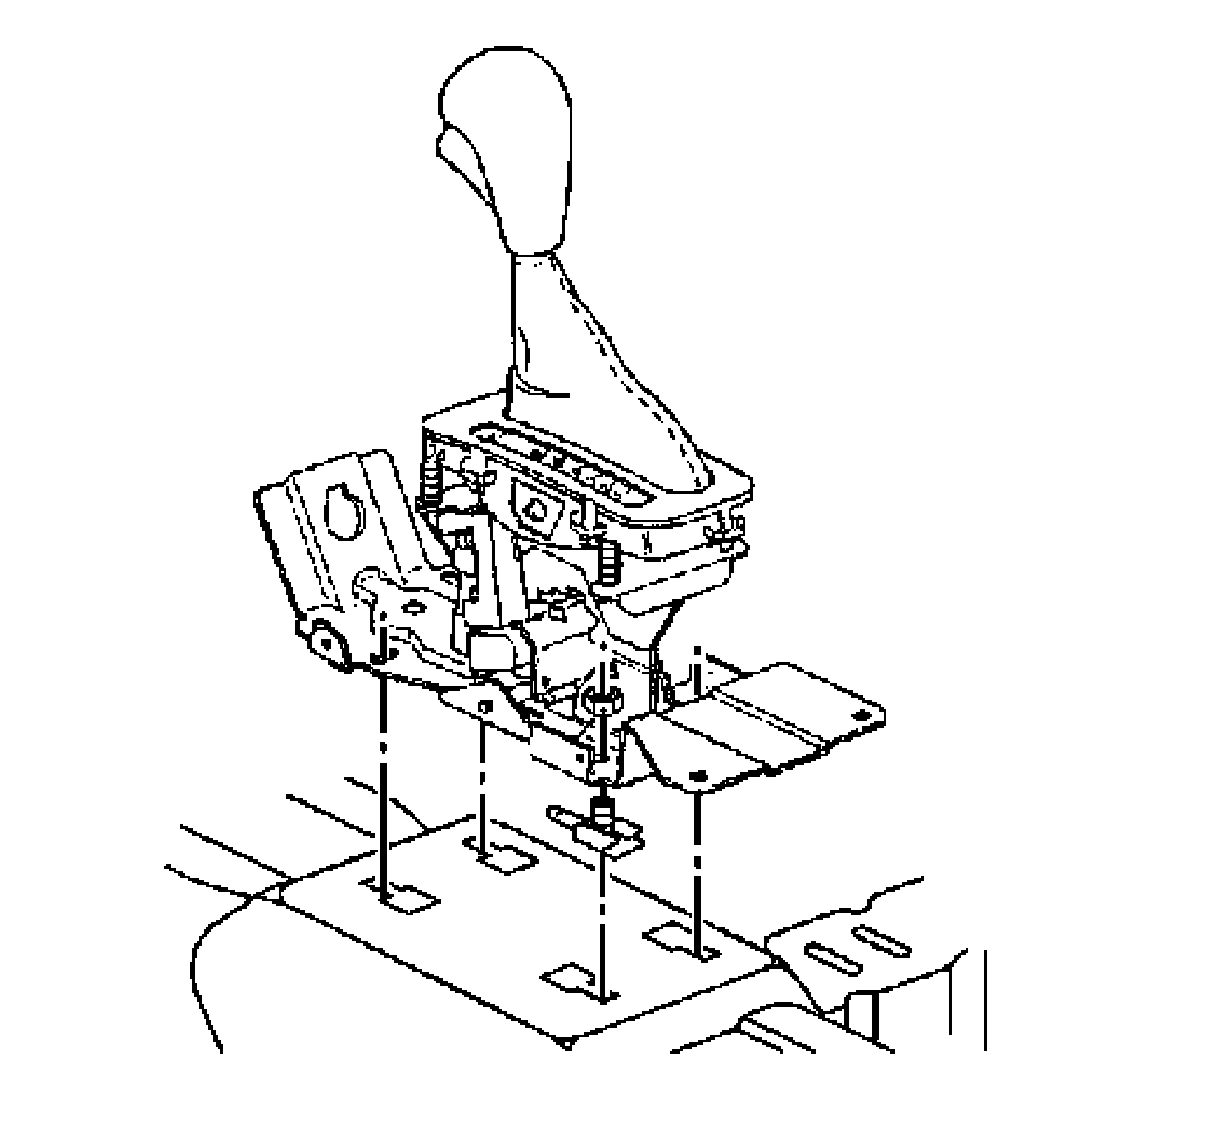
1. Install the console shift control into the vehicle.
Notice: Refer to Fastener Notice.
2. Install the console shift control retaining nuts.
Tighten the console shift control retaining nuts to 24 N.m (18 lb ft).
3. Install the automatic transaxle range selector cable.
4. Install the console shift control wiring harness.
5. Install the console wiring harness.
6. Install the console trim plate.