Body Control Module Replacement
Removal Procedure
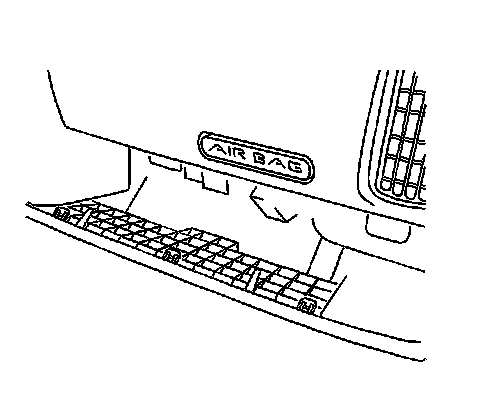
1. Remove the right side knee bolster trim panel. Refer to Passenger Knee Bolster Replacement Passenger Knee Bolster Replacement.
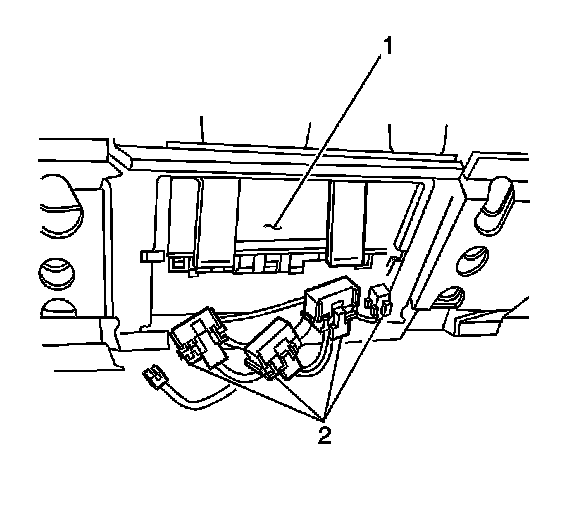
2. Disconnect the electrical connectors (2) from the body control module (BCM) (1).

3. Release the tabs (2) retaining the BCM (1) to the bracket.
4. Remove the BCM (1) from the vehicle.
Installation Procedure

1. Install the BCM (1) into the bracket.
Ensure the BCM (1) is engaged in the bracket, under the retaining tabs (2).
2. Connect the electrical connectors (2) to the BCM (1).
3. Install the right side knee bolster trim panel. Refer to Passenger Knee Bolster Replacement Passenger Knee Bolster Replacement.
4. If you replaced the BCM, program the module. Refer to Body Control Module Programming and Setup Testing and Inspection.
5. Refer to Control Module References Control Module References for programming and setup information.